
How I Turned Our Guest Bedroom Into a Studio Kitchen
Various months back, our photographer Michelle and I were being planning our forthcoming shoots and speaking about how a lot we preferred a gentle-crammed house to shoot recipes in. As much as I like our kitchen area, it is actually the location in our household that gets the the very least amount of organic gentle, producing picture and video clip shoots difficult in there. As well as, the fact that it is also where our household hangs out each day can make it a significantly less-than-strategy location for our team to get artistic function carried out.
“It’s way too terrible we could not switch your guest bed room into a studio,” Michelle remarked. “It will get the ideal light in the residence.”
“Oh I want!” I answered. But then I thought… wait around. Could we?
I could not let go of the concept, and in the 7 days, I’d persuaded Adam that we definitely could do with out our guest bed room. We’re both of those big believers in making use of each and every region of the home to its fullest capability, and although I didn’t particularly like the concept of providing up our only visitor room, realizing that this new house would be 1 that would assist our day-to-day creativeness and collaboration considerably outweighed our reservations.
Objectives for this design and style undertaking
As I began setting up how to turn this bedroom into an actual studio to assistance all forms of inventive perform, I experienced a couple most important objectives in thoughts:
Kitchen prep area. This would be the house wherever we’d be taking pictures our recipe pictures and films. Nevertheless I wasn’t heading to be ready to put in true kitchen area appliances, I wished it to have counter tops and prep regions to operate (and read) like a true kitchen.
Increase the light. We chose this room for the extraordinary light that it receives, so I preferred to position the structure to maximize the angles of sunlight during the working day
Build a backdrop for taking pictures Casa Zuma. In addition to our recipe material, I desired to have a house exactly where we could quickly shoot new products and solutions for the Casa Zuma web-site. Getting plenty of pretty neutral backdrops and open up display shelving was a ought to.
A central worktable for assignments and collaboration. Crafting, cooking, placing up our laptops for meetings—we required a central worktable and island that was an open up area for collaboration.
Funds. I essential to do it all on the inexpensive! I understood I’d have to get imaginative to make this room as stunning as I was envisioning, without the need of dropping tons of income. I’m happy to say that the whole task came in at just around $2,800.

Before and soon after
On the left: the “before” house when it was set up as our visitor bedroom. I definitely beloved the place, but given that nearly all of our family members life in Austin, we didn’t stop up using it that considerably, and I’m not a supporter of having rooms that sit vacant in a home when they could provide a substantially extra useful intent! Moreover, it was time for Henry to get a more substantial bed, and this woven neutral headboard was ideal to repurpose for his bed room upstairs.
On the right: the soon after! The new studio has turned out to be an astounding area for our crew to perform, with tons of light-weight and great strength. The one particular spending budget product that I did not include in my total calculations was plastering the walls, which you’ll see adds a lot of depth to the immediately after photo. We truly did this in our mini-remodel a couple decades back that I coated correct listed here.
Scroll on as I split down the most important aspects that brought this space together…
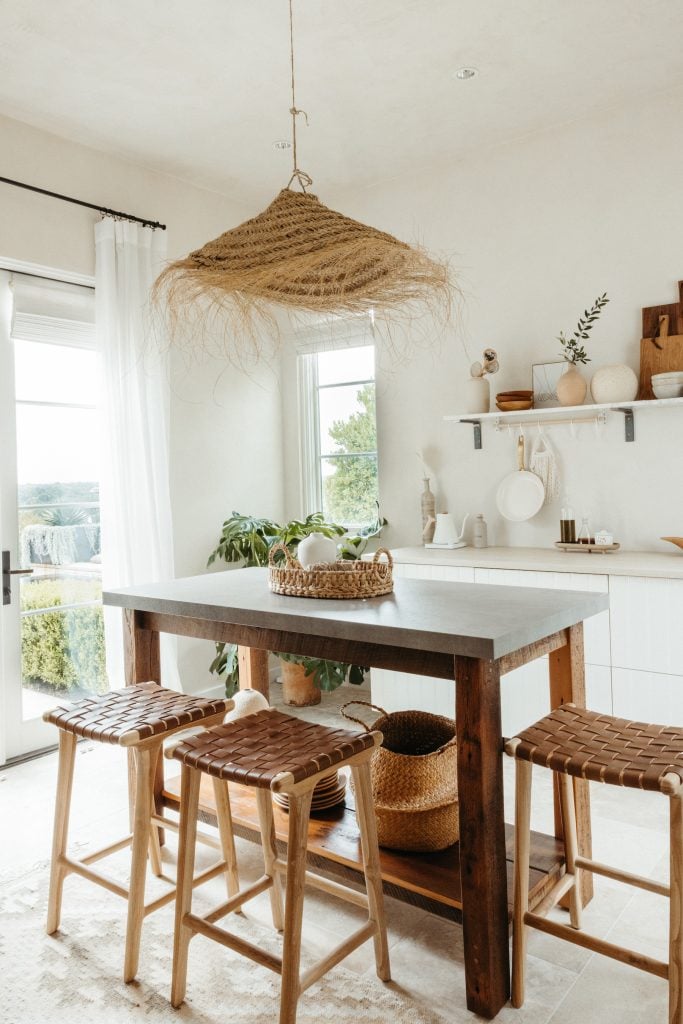
The island / workbench
I searched substantial and lower for a counter-height island that was the right proportions for this place. It required to be major ample to provide lots of workspace, but not so major as to make it difficult for us to freely go around the room. And I needed a thing with a timeless, rustic structure, and vintage vibes–which meant employing reclaimed wood.
My original research arrived up vacant, but then stumbled on an Etsy store referred to as Whatman Barn Furnishings that helps make custom islands out of reclaimed wooden. I arrived at out and permit him know what I was seeking for, and 6 months later on a large crate confirmed up in my driveway with our attractive new island.
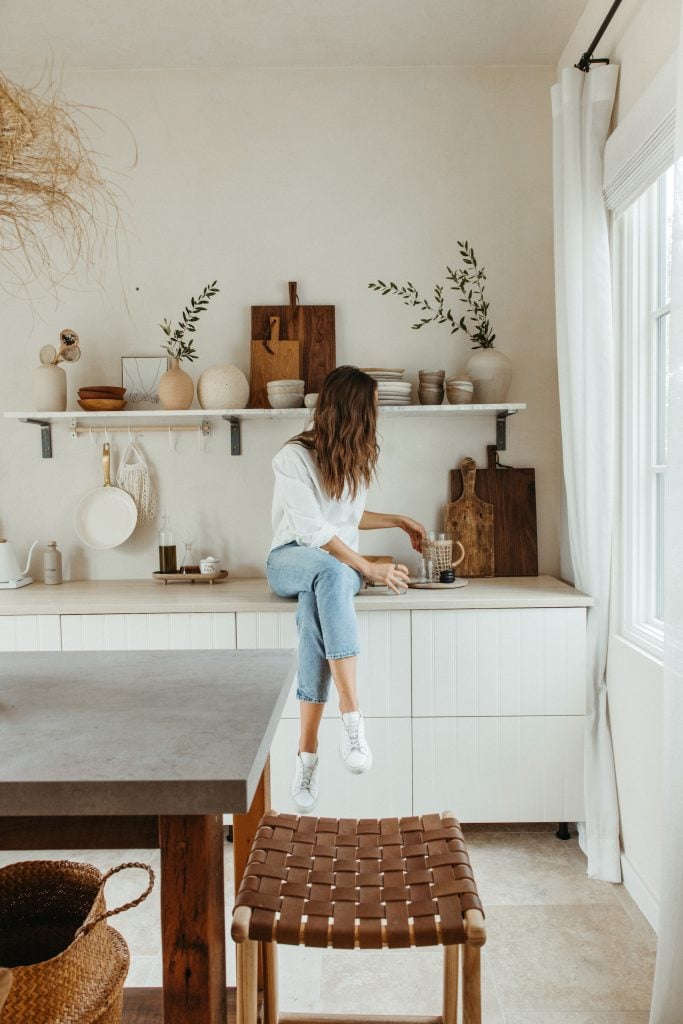
I surrounded it with three of my woven leather-based counter stools from Saffron + Poe, and it feels just fantastic.
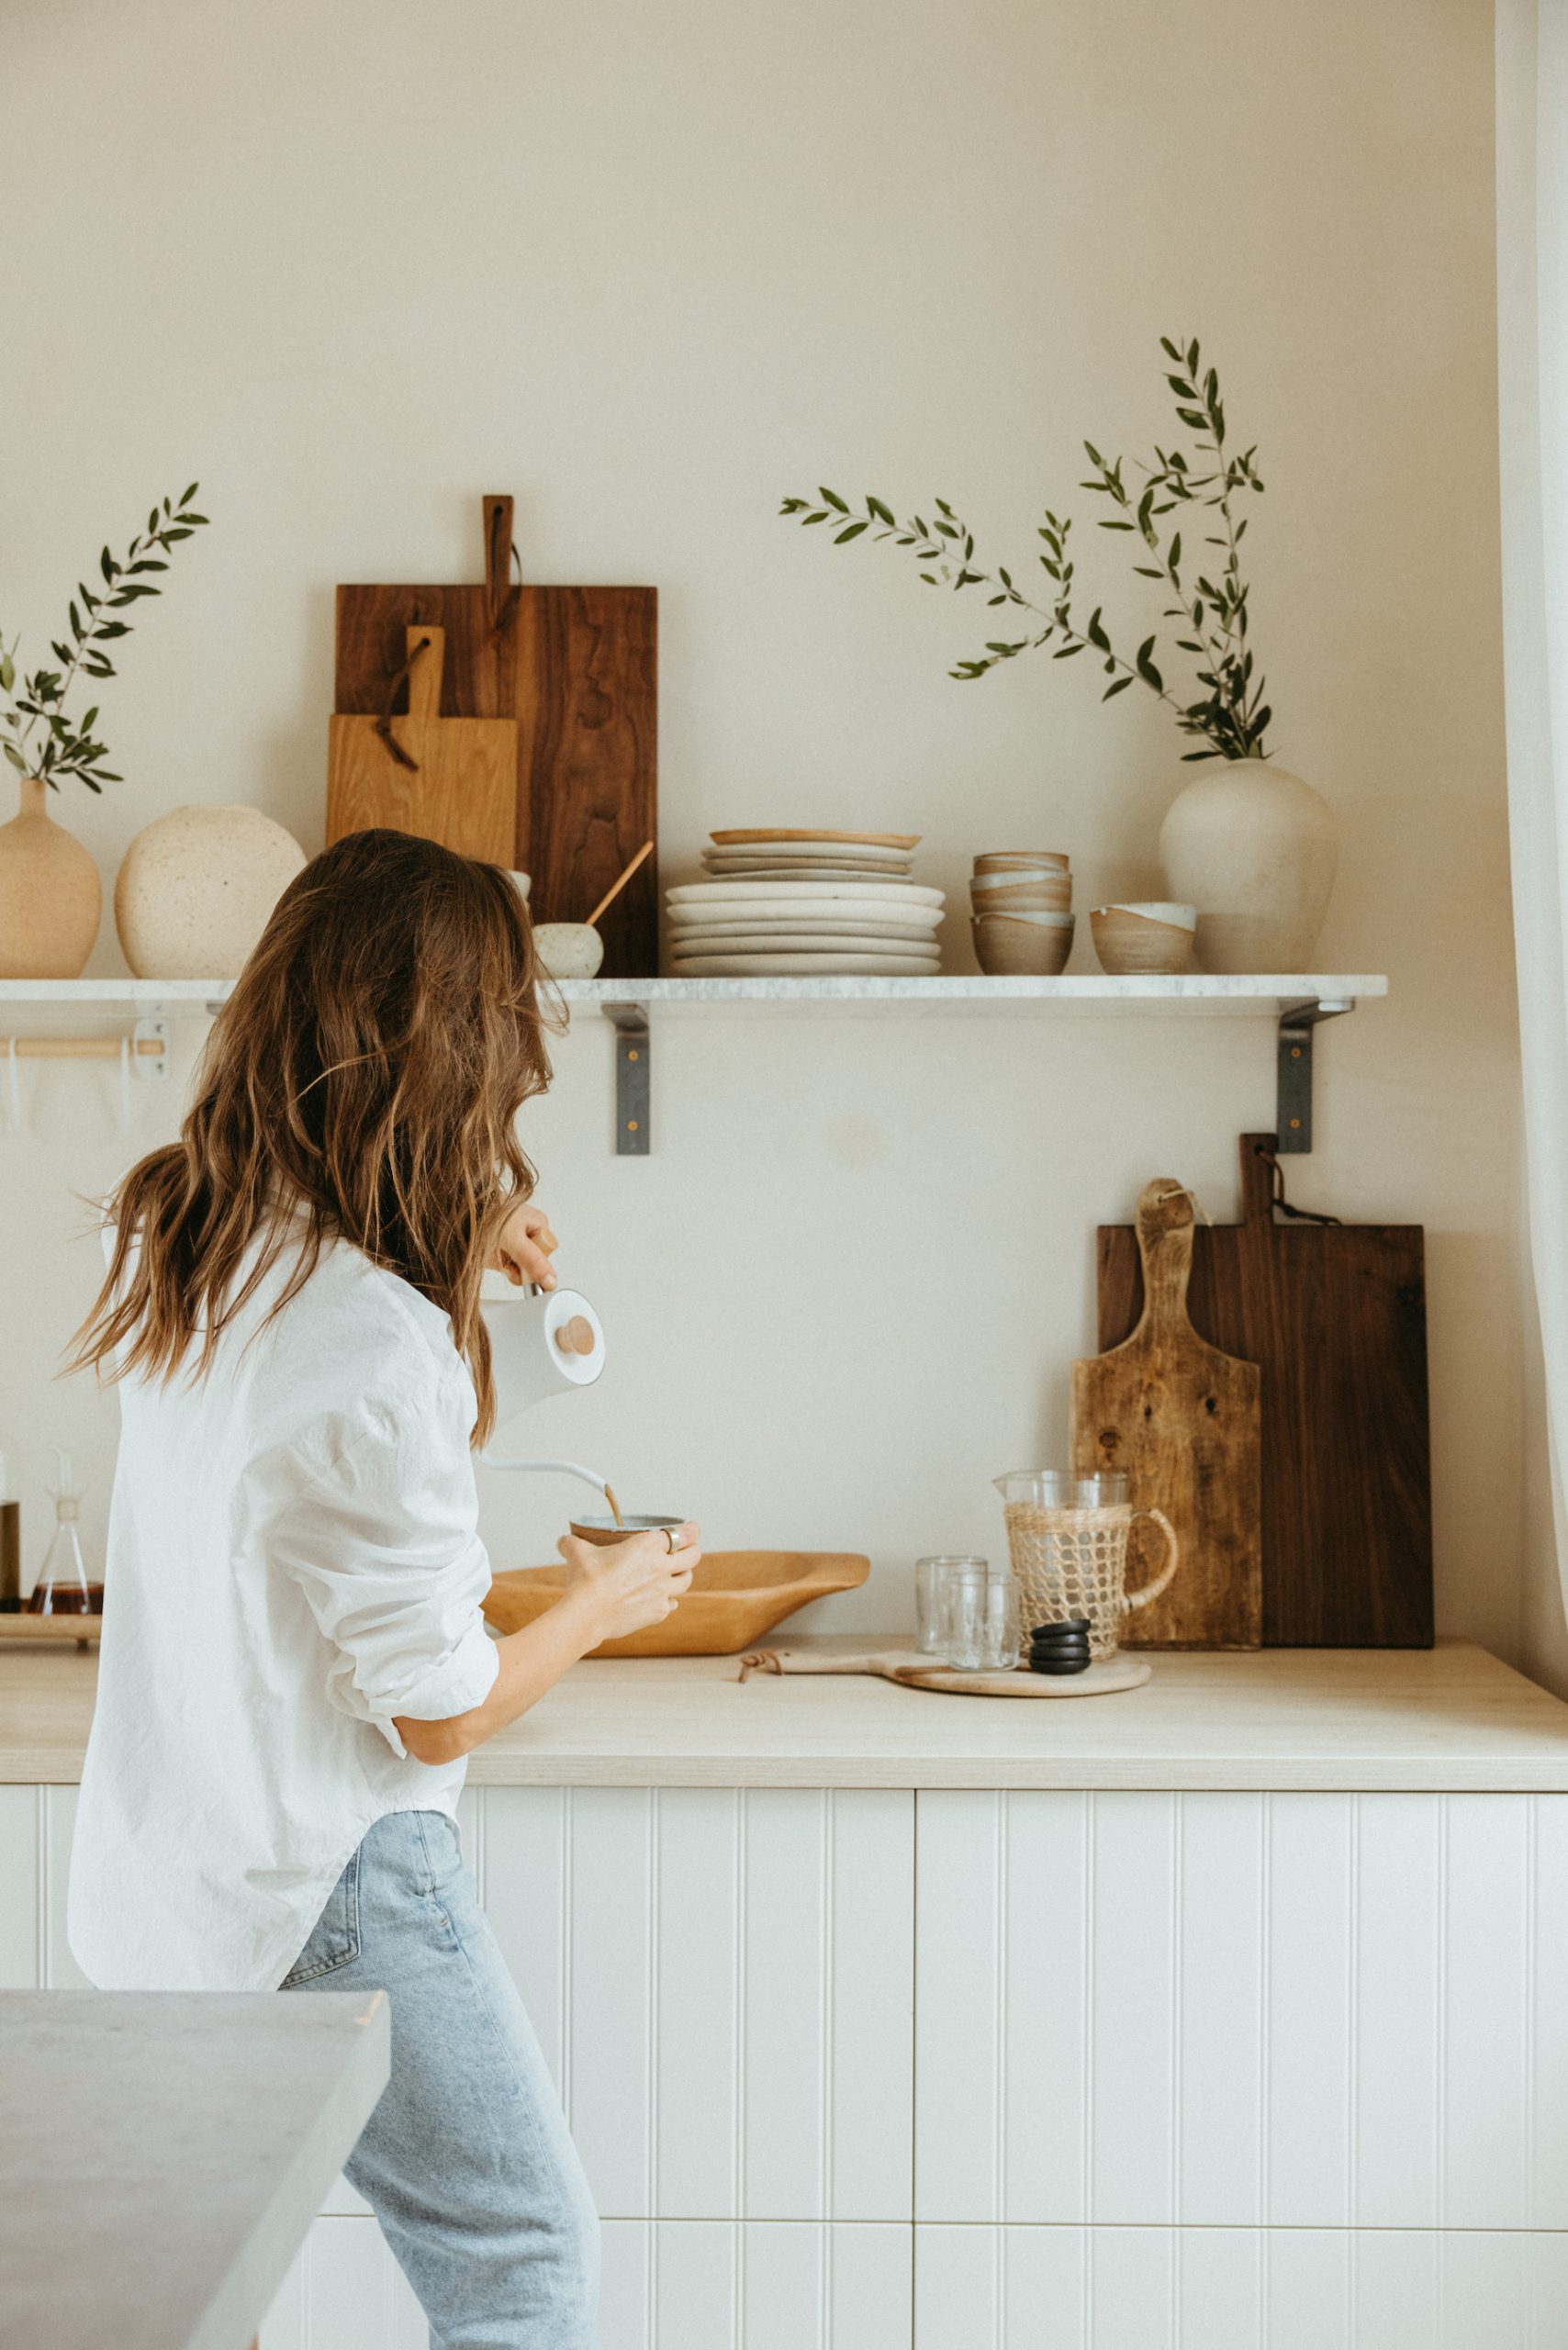
The lower cabinetry and countertop
IKEA scores all the way, newborn! I was tremendous excited when I found these sets of drawers with a texture resembling shiplap for that vintage, European farmhouse-model vibe I was going for (I imagine that finish is absent, but there are plenty of other very good kinds. I love the mild ash.) I topped them with a large slab of their laminate countertop in a bleached wood tone, and we ended up established. One particular observe that I learned the tricky way: if you want these to be counter-peak, be absolutely sure to buy the little legs that go on the bottom to increase the counter up off the ground.
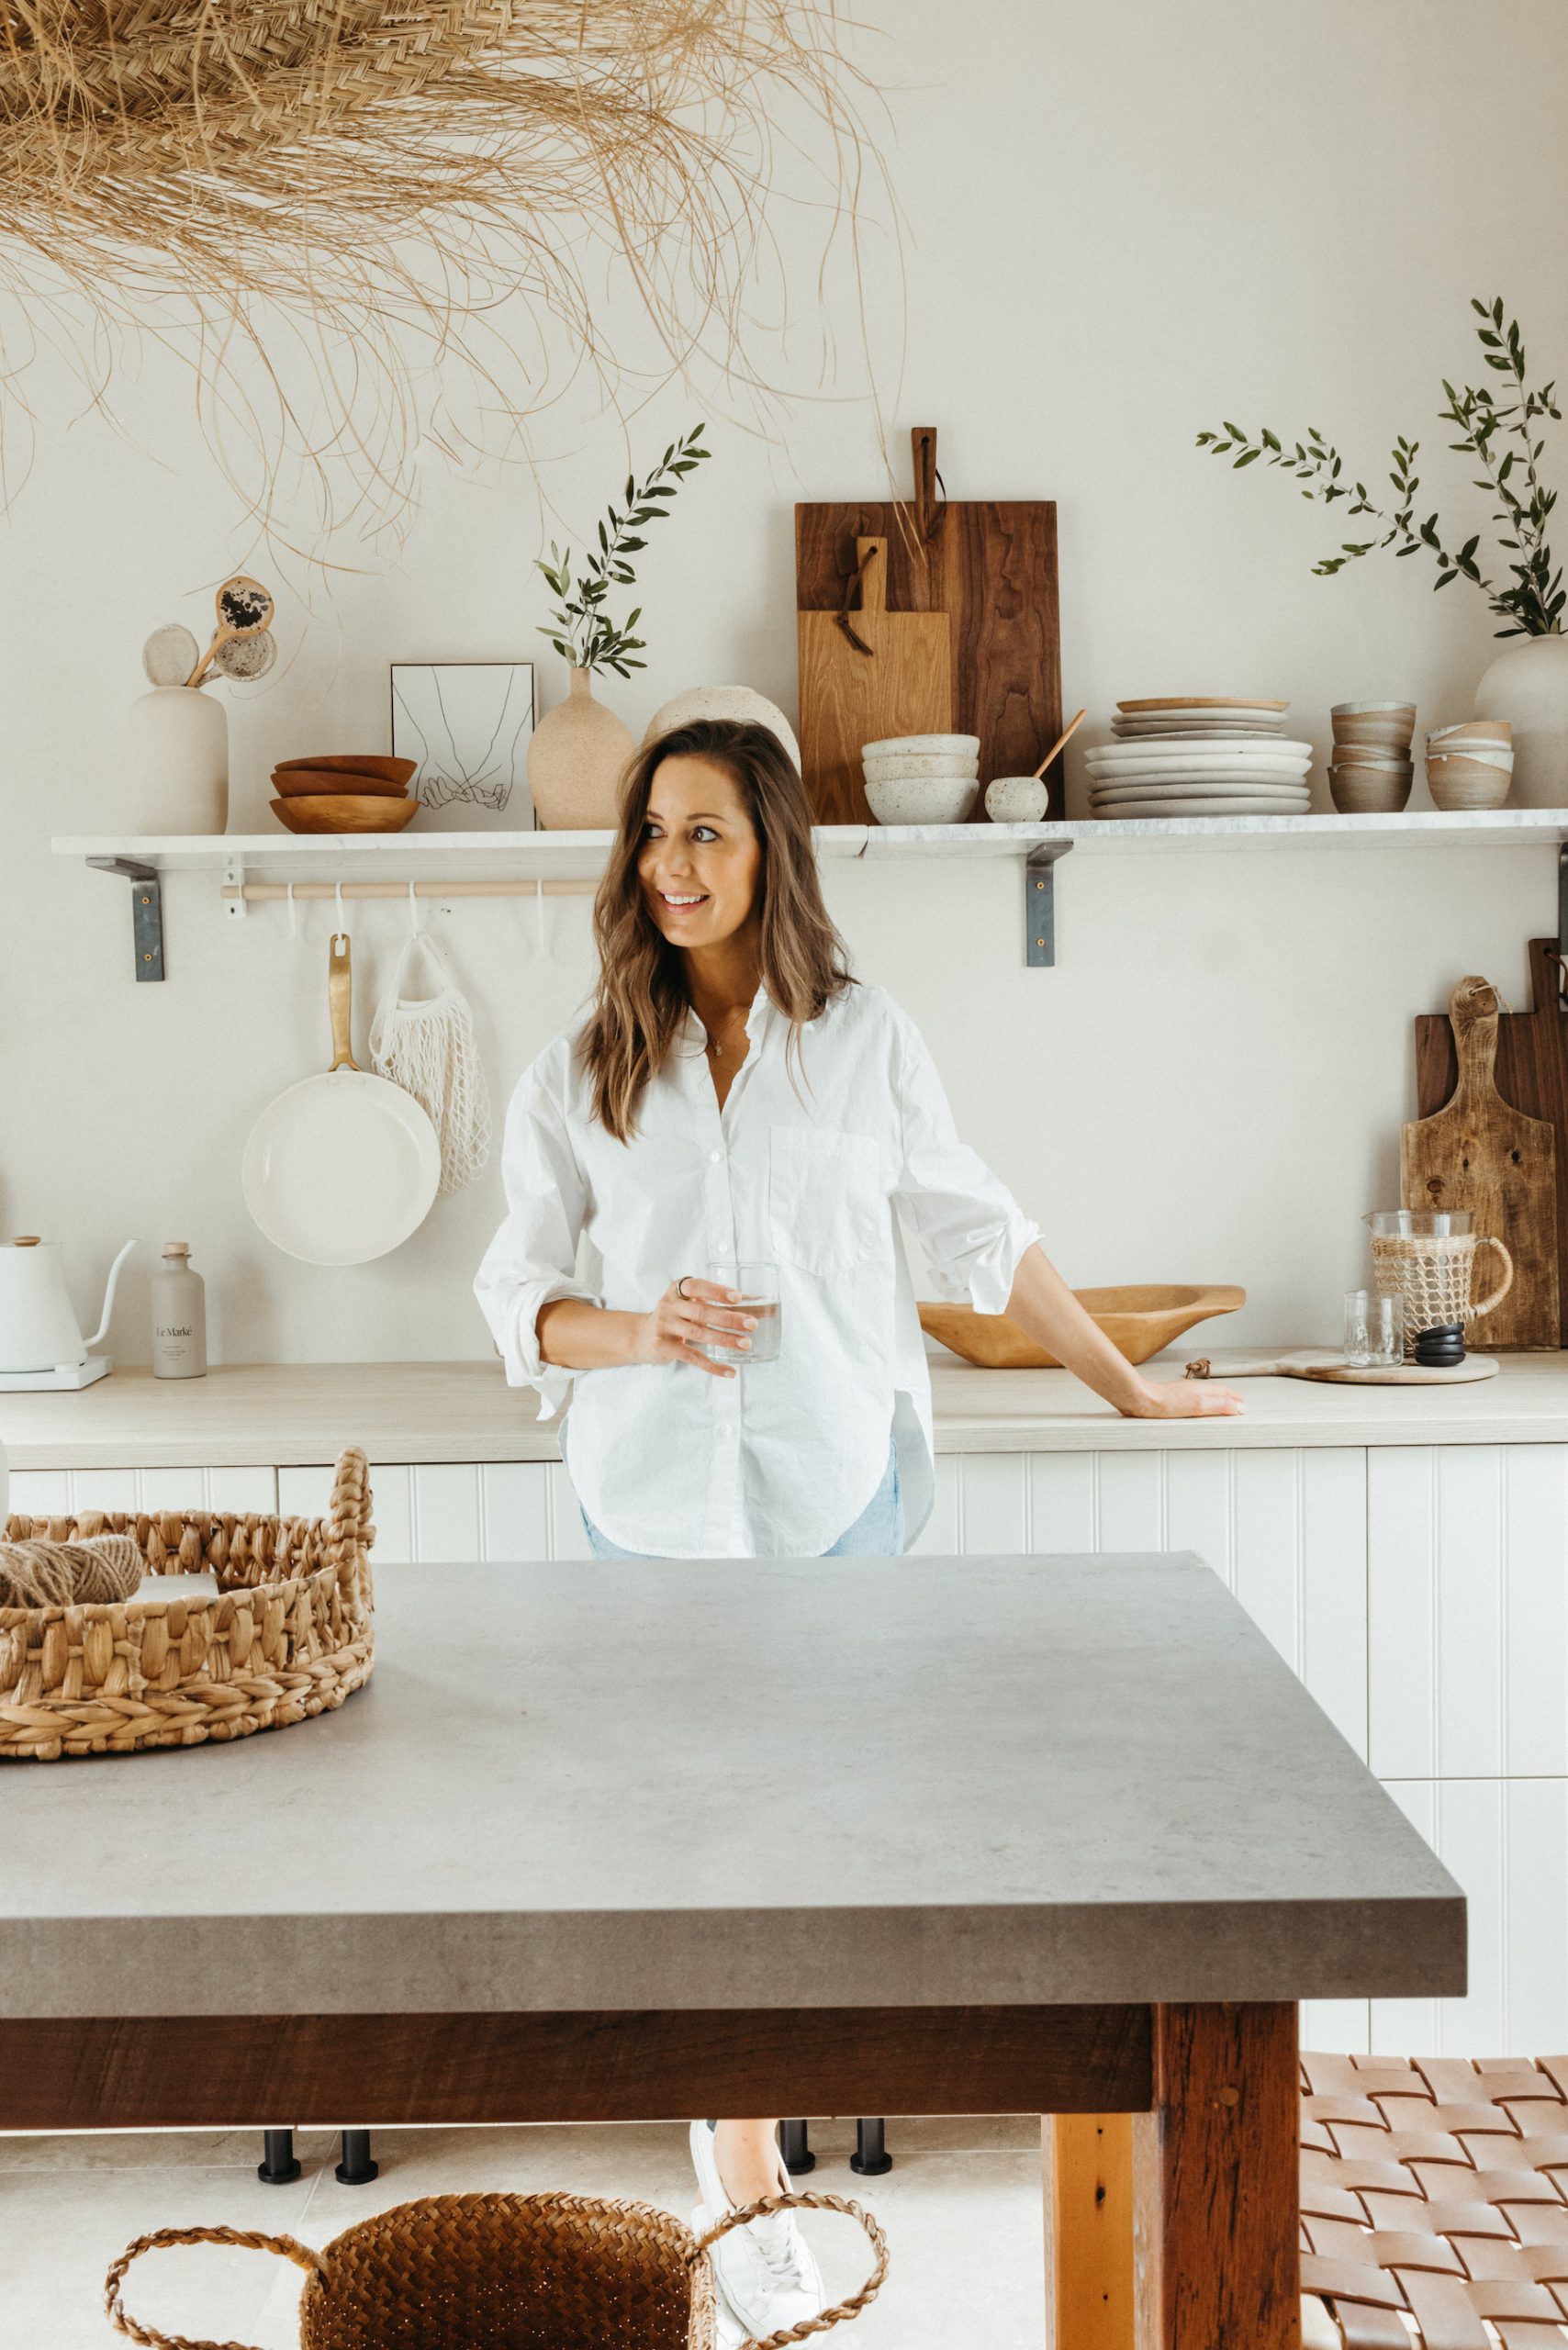
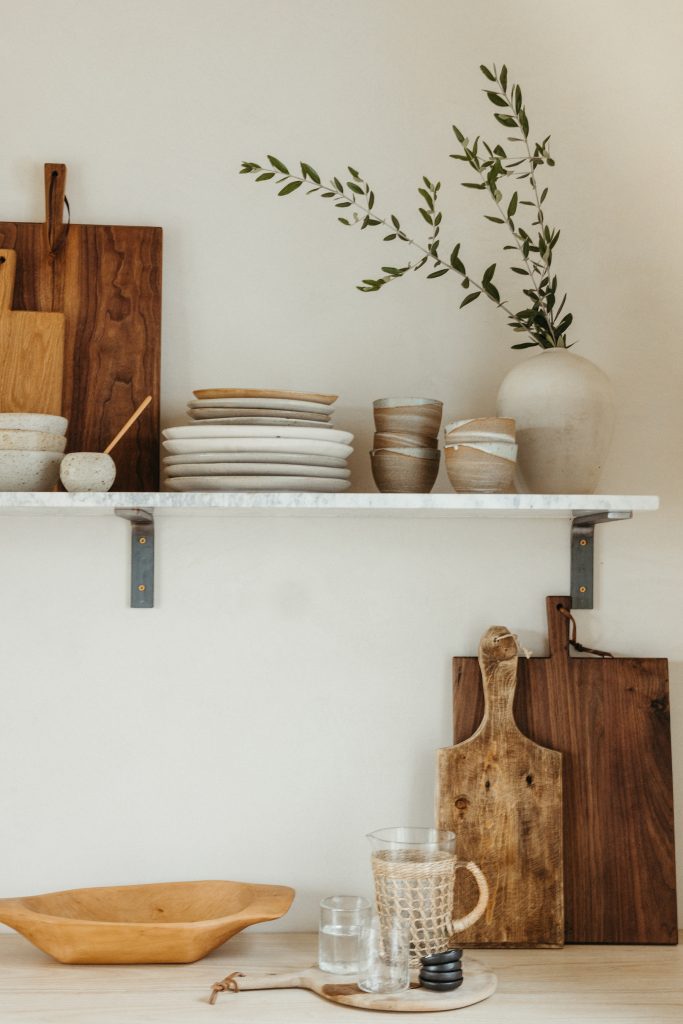
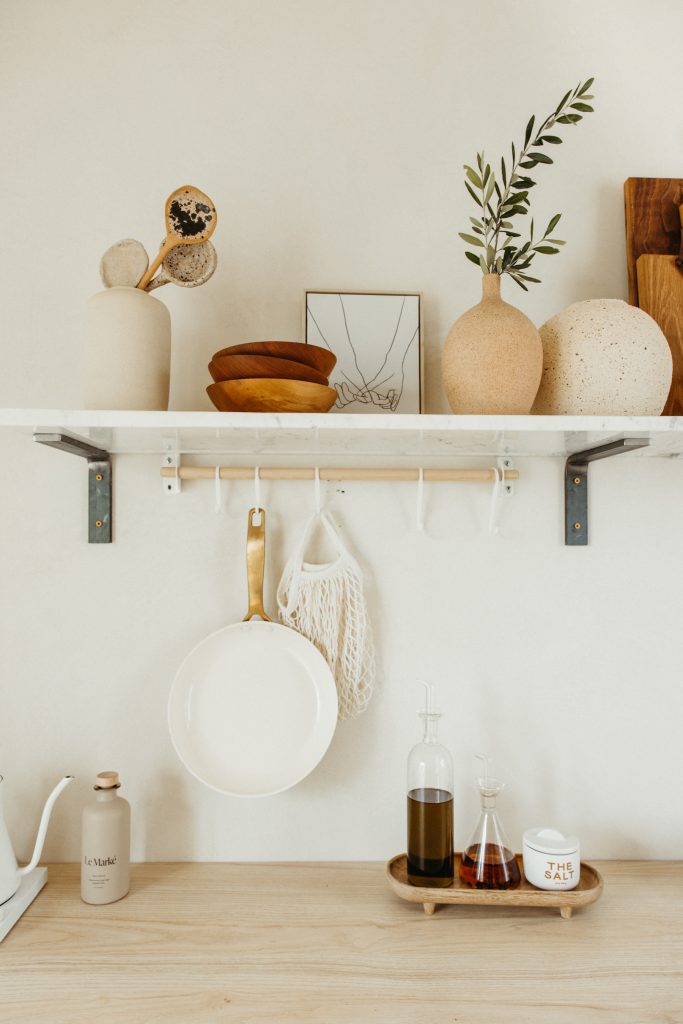
The open shelving
This was a tricky a single for a few reasons. I preferred a solitary marble shelf that ran the size of the countertop for an elevated, sleek place to screen dishes, chopping boards, and Casa Zuma pieces. However marble shelves tend to be (a) extremely expensive, and (b) challenging to mount since they’re extremely large. Listed here was my solution—I’ll acknowledge it’s not fantastic, but it genuinely was the very best bang-for-the-buck and I’m mostly pleased with how it turned out.
First, I identified these marble cabinets on clearance at Ballard Layouts (certainly, that demanded a deep world-wide-web research, and certainly, sometimes the most unlikely sources turn out to be a gold mine.) Due to the fact I did not want to have to lower into the drywall to mount inside brackets, I determined to use seen steel brackets for a a little industrial look. I purchased these from Etsy.
Up coming, it was time to mount them on the wall, which did not go as smoothly as I’d hoped. I wanted to area the 4 brackets out just evenly across the wall nevertheless the moment we begun drilling, we ran into some inconvenient wall studs that prevented us from putting the brackets exactly the place I’d wanted. We made it function nevertheless, by having a small imaginative with the spacing. Development not perfection is the aim, fellas (I preserve telling myself that. And certainly, this is possibly one thing I’ll want to redo later on.)
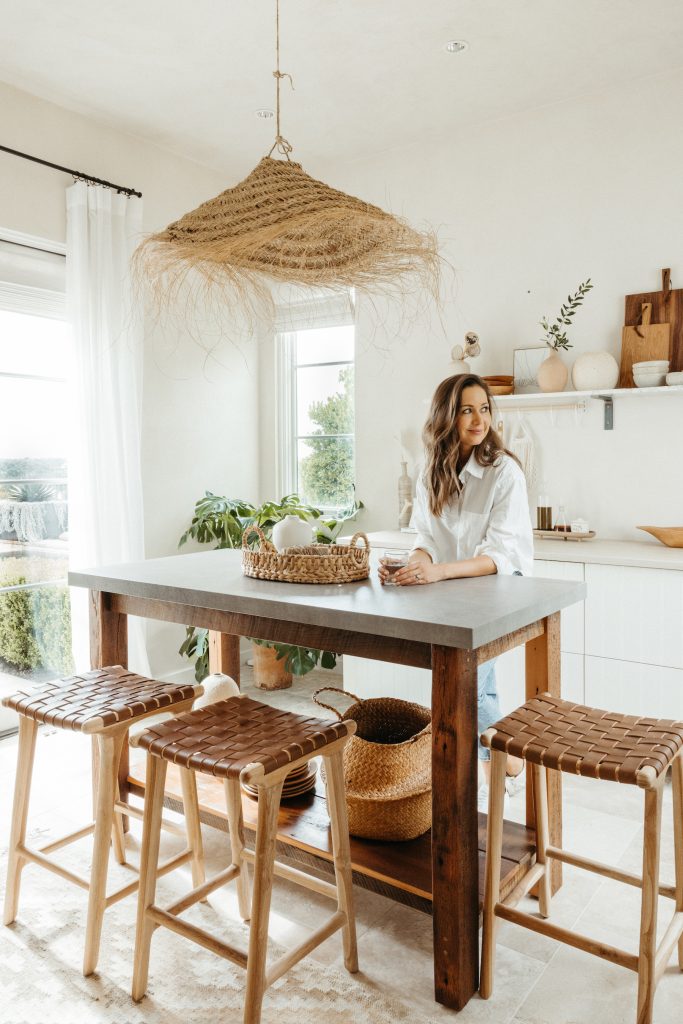
The woven mild fixture (it was $39!)
This woven pendant in the center of the area is definitely my favourite steal. I uncovered it on Etsy from the Beldi Boheme shop, and it was just the California-meets-Mallorca vibe I was searching for. We taken out the ceiling lover that was in the home formerly and replaced it with a basic lightbulb pendant that operates appropriate by way of the center of the straw basket. It’s just the ending touch this room required.